LED Panel Studio - HD Player macOS Version - Unofficial
Prepare content on your Mac and publish it to Huidu LED control cards — canvas editor, device scan, and multilingual UI in one lightweight studio app.
Note:
LED Panel Studio is an unofficial macOS app for designing panel layouts and sending them to Huidu LED control cards over USB Ethernet or Wi‑Fi. Package: LED-Panel-Studio-1.3-arm64.dmg.
App Screenshots
Download
Download LED Panel Studio 1.3 (arm64 DMG)
Overview
I have developed LED Panel Studio, an unofficial macOS app for preparing content on a Mac and publishing it to Huidu LED control cards — a lightweight alternative for anyone who wants HD Player–style workflows without leaving Apple Silicon.
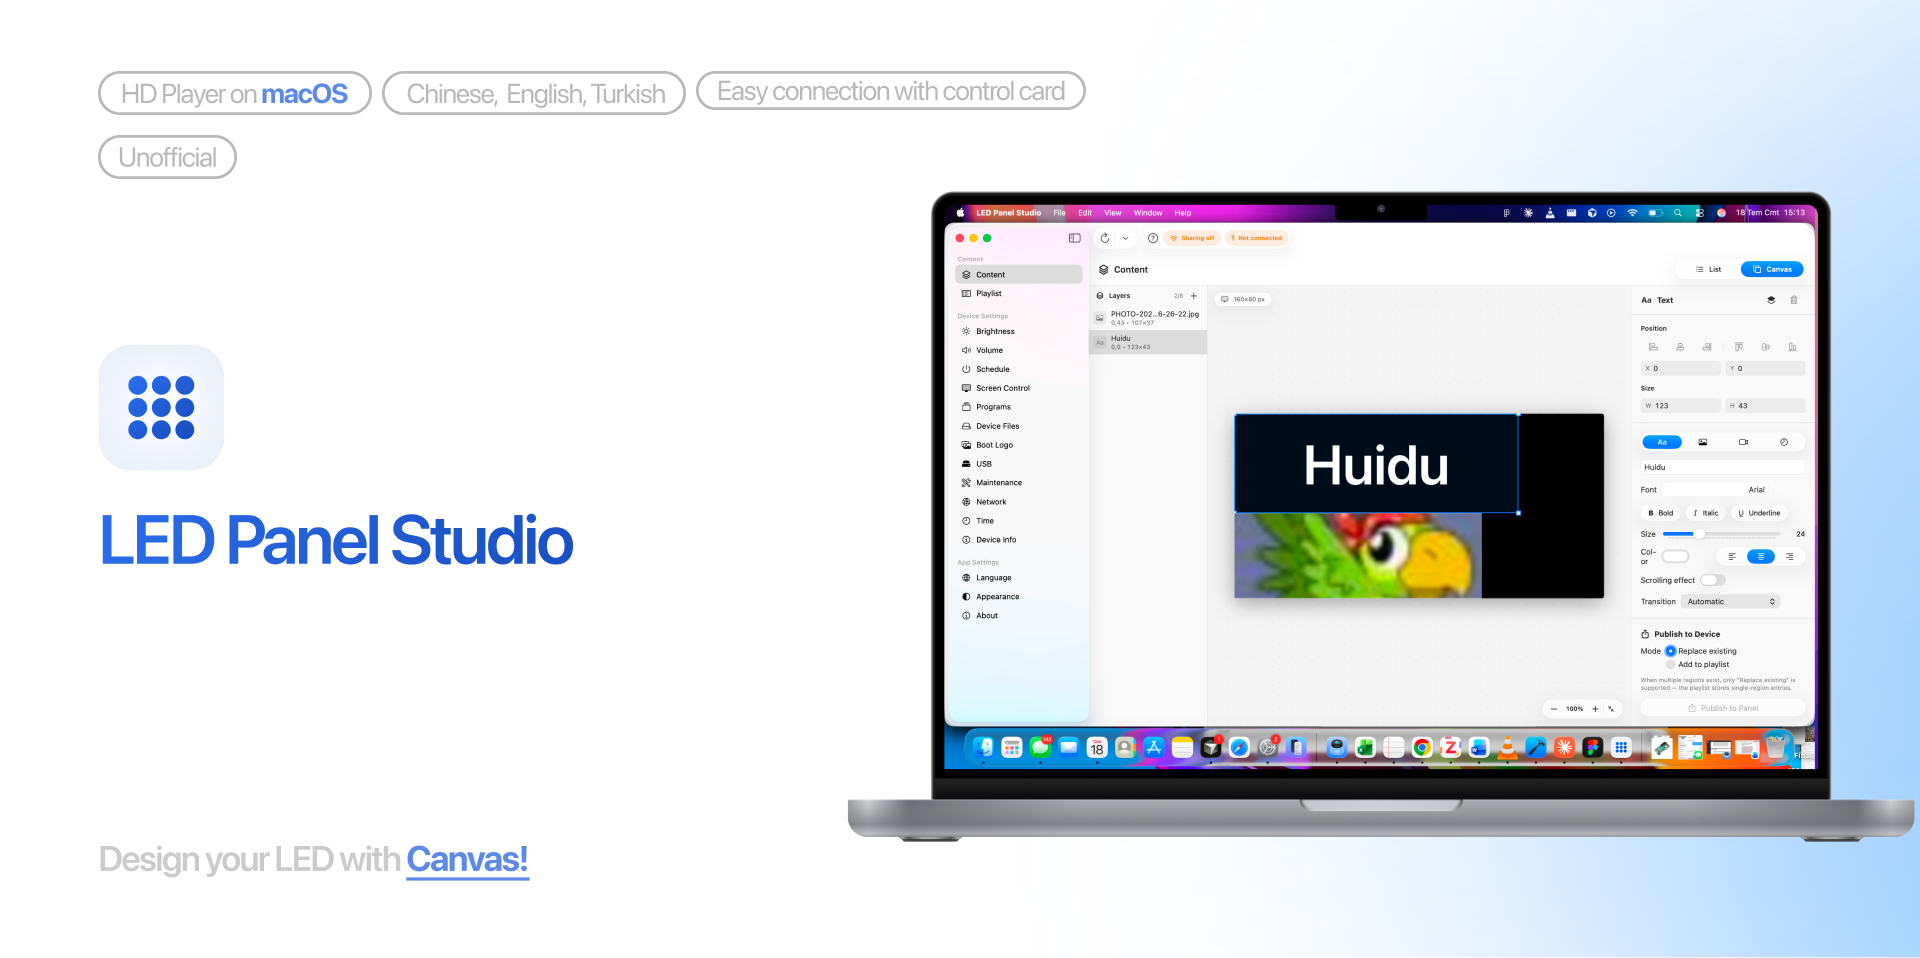
On the canvas you place text, image, video, and clock regions; the app scans the panel, converts your layout into a program, and sends it to the card. The interface supports Türkçe, English, and 简体中文.
What’s new in v1.3
New features
- Mid-edge resize handles — resize layers from the center of each edge (e.g. drag the bottom-center handle to change height only).
- Arithmetic in Position / Size fields — type an expression such as
80/4and press Enter to get20. - Copy / paste layers — ⌘C / ⌘V, plus Copy in the right-click menu.
- Boot Logo redesign — Fit / Fill preview before upload, and a Restart Device button.
- My Designs workflow — after loading a design, the app navigates to Content automatically; Save shows a clear “saved” confirmation.
Bug fixes
- Boot Logo could not be set —
SetBootLogoNamewas missing themd5attribute, so the card silently rejected the command while the app still reported success. - Silent system errors — shared paths for Reboot, GetBootLogo, ScreenRotation, and similar commands (
RunXml) never checked the device’s real result code; failures are now surfaced correctly. - Boot Logo ignored screen rotation — the logo is now pre-rotated to match the device rotation setting, so it matches normal content orientation.
What’s new in v1
The v1 release introduced:
- Image upload issues resolved — uploading images to a program now works reliably.
- Export button — export your design canvas so you can use it directly in your own APIs.
- Font upload — add and use your own fonts in the editor.
Features — what you can do
Content studio
- Place text, image, video, and clock regions in the same program
- Canvas drag‑and‑drop placement, resizing (corner + mid‑edge handles), and layers (list view included)
- Device fonts, color, alignment, bold / italic / underline
- Arithmetic in Position / Size fields (e.g.
80/4→20) - Copy / paste layers (⌘C / ⌘V and right‑click Copy)
- Transition effects (slide, cover, fade, shutter, marquee, and more — SDK EffectType set)
- Custom font upload — bring your own fonts into the editor
- Export the canvas to reuse the design in your own APIs
- Stack or side‑by‑side regions, alignment, undo / redo
Publish to the panel
- Publish the layout to the card with Publish to Device
- Replace or append send modes
- Prepare images / videos for the card (scaling, conversion)
- Manage media and program pieces with a local playlist
Device management
- Brightness (fixed / schedule / sensor)
- Audio level and timed sound policies
- Power on/off scheduling
- Screen control (on/off, reboot, test colors, screenshot)
- Programs and media files on the card
- Boot logo upload with Fit / Fill preview and restart from the same screen
- USB (flash) behavior settings
- Maintenance (RAM, firmware / updates, playback stats, and more)
- Network (Ethernet DHCP/static, Wi‑Fi station / AP)
- Clock sync and device info (resolution, model, rotation…)
Connection and setup
- Automatic card scan and connect by IP (Ethernet or Wi‑Fi)
- Internet Sharing or direct USB Ethernet (no Wi‑Fi required)
- Shows the Mac’s live bridge / Ethernet IP
- On a different panel resolution: reset canvas or scale warning
- Step‑by‑step Setup wizard; jump to the right step from status pills
App
- Languages: Türkçe / English / 简体中文
- Light / dark / system appearance
- macOS Liquid Glass UI
Who is it for?
- Anyone using a Huidu LED card connected to a Mac through a USB Ethernet hub
- Users who want to manage panels on the same network as HD Player / the SDK, from a Mac
- Anyone connecting over Wi‑Fi when the card is on the same LAN
Requirements
| Mac | Apple Silicon (arm64) |
| System | macOS 26 or later |
| Hardware | LED card + USB‑C hub Ethernet (or the card’s Wi‑Fi on the same LAN) |
| Package | LED-Panel-Studio-1.3-arm64.dmg |
Install from DMG
Download the package from the Google Drive folder, then:
Open the DMG
Open LED-Panel-Studio-1.3-arm64.dmg.
Copy to Applications
Drag the LED Panel Studio icon into the Applications folder.
Launch
Open the app from Launchpad or Applications.
“Developer cannot be verified”
This build is distributed outside the App Store and is ad‑hoc signed. On first launch, macOS may block it:
- Right‑click the app → Open → Open, or
- Allow it under System Settings → Privacy & Security
Connecting to the card
The app reads your Mac’s live USB / sharing IP. The address shown in the green box is the one that matters — you do not need to hard‑code a fixed IP from memory.
Path A — Internet Sharing (when Wi‑Fi is available)
- Plug the hub into the Mac; connect the card’s Ethernet cable to the hub.
- Open System Settings → General → Sharing → Internet Sharing.
- Source: Wi‑Fi → destination: USB 10/100/1000 LAN.
- In the app, confirm sharing is ready via Setup / status pills, then tap Scan Device.
Path B — Direct Ethernet (no Wi‑Fi)
- Cable only: Mac ↔ hub ↔ card.
- In System Settings → Network → USB 10/100/1000 LAN, assign a manual private IP (e.g. Mac
….1, card….2on the same subnet). - When the app detects the Mac IP, the toolbar shows Direct Ethernet.
- If the card is not getting DHCP, set gateway = Mac IP and card IP on the same subnet under Device Settings → Network.
- Use Scan Device or Connect by IP.
You can reopen the setup wizard anytime from the toolbar Setup (?). The Sharing / Not connected pills jump to the relevant step.
First use
- Connect the card (Path A or Path B above).
- On the Content screen, add regions with the canvas or the list.
- If the panel resolution differs, the app warns you — reset the canvas or scale it.
- Send the layout with Publish to Device.
- Brightness, audio, network, boot logo, and related controls live under Device Settings.
FAQ
My panel is not 160×80 — will it still work?
Yes. Size is read from the card and the canvas scales accordingly. When you connect at a different resolution, you get reset / scale options.
USB hub only, no Wi‑Fi at all?
Yes — use Path B (direct Ethernet, with a static IP if needed).
How do I change the language?
Sidebar → Language (or the app preference in System Settings).
Intel Mac?
This DMG is Apple Silicon only.
Version
| App | 1.3 |
| Package | LED-Panel-Studio-1.3-arm64.dmg |
| Platform | macOS 26+ · arm64 |
Summary
LED Panel Studio is a Mac studio I built for designing content and sending it to Huidu LED cards. On the canvas you arrange text, images, video, and clocks; publish to the card with transition effects. Brightness, audio, scheduling, network, boot logo, and maintenance live in the same app. Connect via Internet Sharing or direct USB Ethernet; the UI is available in Turkish, English, and Chinese.